
(As usual, click the photos for bigger versions, or see my whole sewing photos set on Flickr.)
After practicing some basic techniques on the pillowcases I sewed my first patchwork quilt this summer. Since it was a present for two friends’ first baby, I am only posting it now, after I gave it to them.
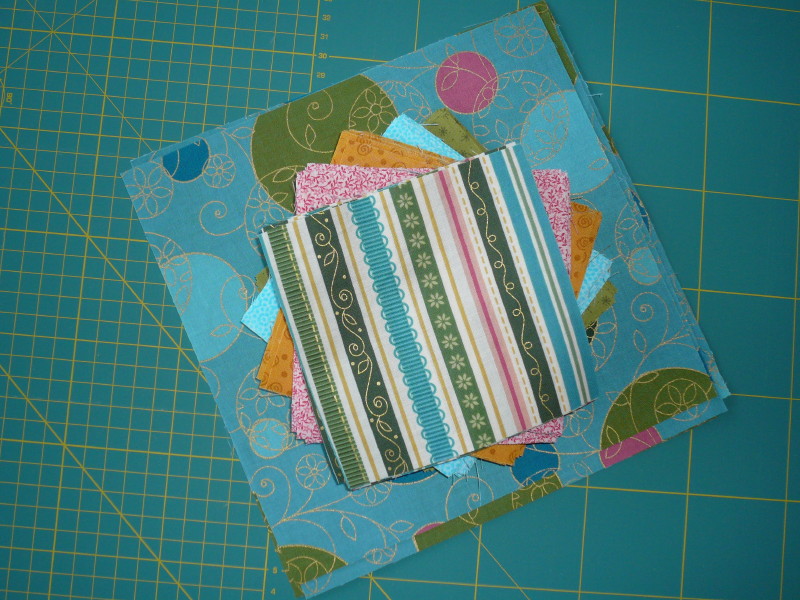
I spent a lot of time at the fabric shop selecting the prints for the quilt. The decision was not easy because I didn’t know if they were going to have a girl or a boy, and I also wanted the quilt to not look dirty after every use, so I picked fabrics in bright, but not too light colours.

I fell in love with the blue fabric with the blue, green and pink circles and picked the other fabrics to match the circles or the striped fabric that I chose. The blue fabric with the circles and the striped one are both from Bernartex’s line City Girl Holiday.
I wanted to use small squares for the quilt, but the print of the aforementioned fabric looks better in bigger pieces, so I cut it into squares the size of four small squares.
I experimented a while with the layout, then sewed the squares together. Here’s the finished top.

Then I put together the quilt sandwich. The three layers are held together by curved safety pins. I used more than 150 of them!

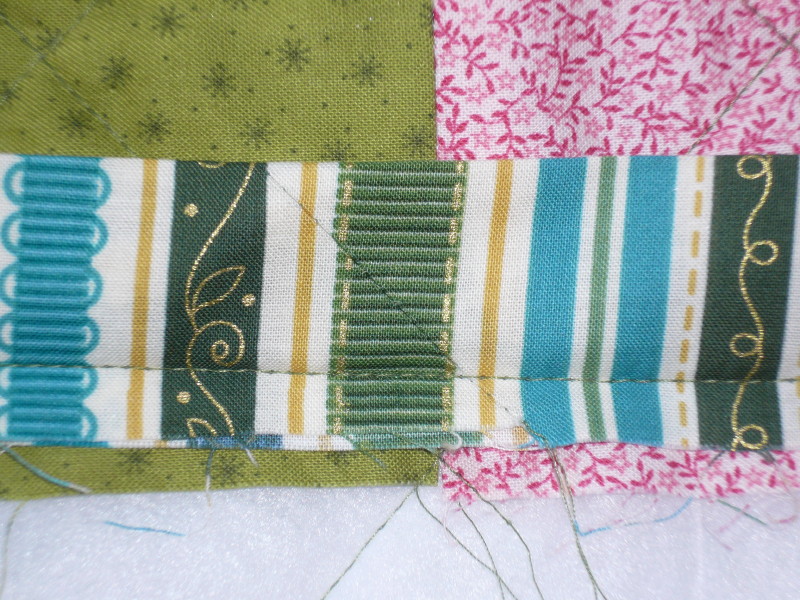
Before I started the actual quilting, I did a little test run because I have never worked with batting before and was not sure if my sewing machine could handle it, but it worked beautifully. I used a medium polyester batting in this quilt and decided to quilt diagonal straight lines to keep with the geometric theme of the quilt. (I also tested the binding, as you can see.)

This is how the quilting looks on the actual patchwork quilt.

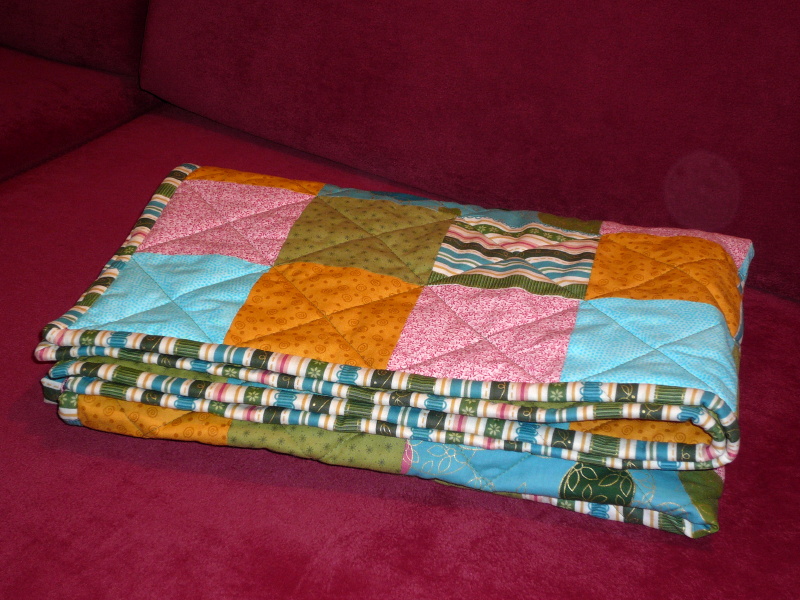
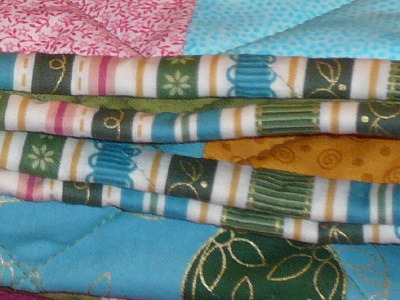
I decided to use the striped fabric for the binding. The binding strip is more than four metres long, as the finished quilt size was about 90 x 110 cm.

I sewed the binding on by machine on the front, as you can see in this photo. I tried to match the print while sewing together the binding strip, and on the finished quilt you can hardly see the seams in the binding – well, except for the last one, which was of course determined by the circumfence of the quilt rather than the print on the fabric.
Then I sewed on the back with a blind stitch. It took the better part of two afternoons, but it was worth it because it looks very neat and you cannot see the stitches. As a finishing touch I added a little label, on the back of which I wrote my name and the date.

Here’s the finished quilt. The back is one piece of the green fabric.
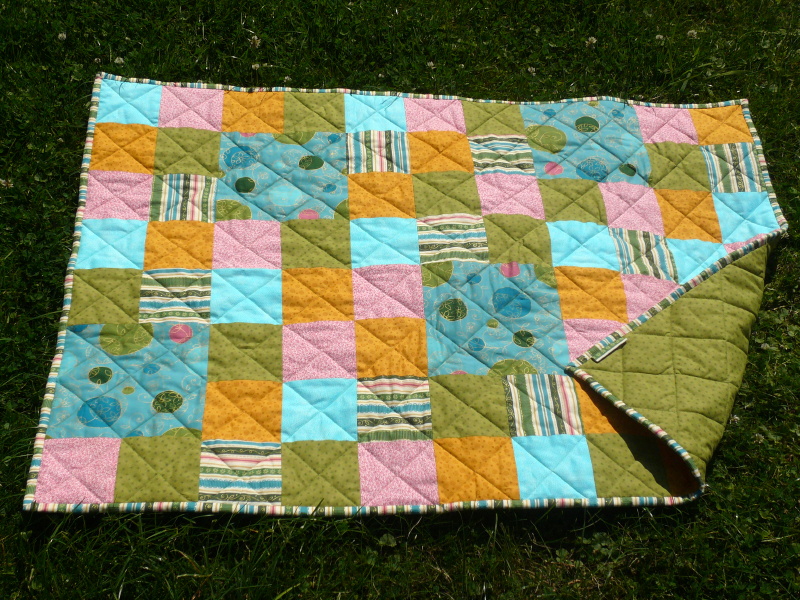
If you look very carefully, you can see two of the “invisible” seams on the binding in this photo:
I used and can recommend two books on quilting:
- Weeks Ringle and Bill Kerr, The Modern Quilt Workshop
- Marianne Fons and Liz Porter, Quilter’s Complete Guide
I also got some inspiration and instruction from the Quilt-Along tutorials at Oh, Fransson!, though I think my version of the binding looks a little neater than this because you cannot see the stitches.
For some tricks with the binding I watched the How to Quilt videos by Shelly Cordsen on Youtube, especially the one on how to connect the binding as a bias strip.
It turned out that sewing a patchwork quilt was not as difficult or complicated as I had thought, but I have to admit that I chose a simple pattern for my first try. Now I’ve only got one problem: I see lots and lots of gorgeous quilts on the net, for example on the Modern Quilt-Along pool on Flickr, but most of the fabrics seen in the photos are only available in the USA. You can buy some here or order from there, but that’s quite expensive. My next project is going to be a quilt for myself (probably napping-sized), and I’m sure it would cost a small fortune if I ordered fabrics for that there instead of buying locally or ordering from a German online shop. Maybe I’ll have to go on another trip to the US sometime? ;-)